Where do I find my license key & How can I re – activate my license key on a new system
When you download the trial version or purchase the software, eGrabber Customer Care will send you the license key via email.
How to Re-Activate my License Key on a New System

How to Install & Register in a New Computer
You can check your emails to find your license key.
You can also find your license key in the product.
- On the Menu Bar, click Help > About LeadGrabber Pro
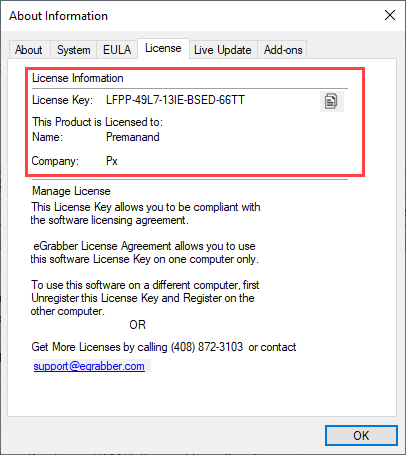
In the About Information dialog box, click on the License tab.
You can find the License Information including the License Key, the name of the person to whom the product is licensed to and the company name.
How to Re-Activate my License Key on a New System
If you want to reactivate your license key in a new computer, you need to first Unregister the software.
On the LeadGrabber Pro Menu Bar, click Help > Unregister
The eGrabber Product Registration window
is displayed
- Click Unregister
A Unregister message box is displayed.
- Click Yes to unregister.
When you click Yes, a message box is displayed.
The message box provides an option to save the License key details on your desktop.
- Click Yes to save the License key details
on your desktop.
The License Key is saved as LeadGrabber Pro_key.txt on your
desktop.
- Click OK.
A message "UnRegistered Successfully. The
Application will be closed now" is displayed.
- Click OK.
The software gets unregistered and closed.
How to Install & Register in a New Computer
- Download LeadGrabber Pro on your new computer.
- Double-click the .exe file to install.
- Click Proceed with Installation.
- Click Yes - I accept License Agreement.
- Enter User Name and Company
Name and select the installation path.
- Select the desired installation options and click Next.
- The installation wizard guides you through the rest of the process.
- Click Finish to complete the wizard. You have now
successfully installed the software.
- To register the software, click Help > Register on
the LeadGrabber Pro Menu bar.
- The eGrabber Product Registration dialog box appears
on your screen.
- If you have purchased the software or registered for a trial version, you
would have received the License Key via email.
- Type or paste the License Key under "Please type or paste your License Key
here" and click Register Now.
- The message "Successfully Registered" appears under Status. Now, click Continue and start
using the software on your new computer.
Related Articles
How to Create a New Project Folder
Folders help you to organize your projects and leads better. Instead of having all the leads or contacts in one folder, creating new folders will help you to manage the records in a more efficient manner. To create new projects, Click on the ...How to Find & Replace Text in the Grid
LeadGrabber Pro enables you to find and replace text or number in the records that are available in the grid. Click Edit > Find & Replace on the Menu Bar Find Text A Find and Replace dialog box is displayed. The Find tab is displayed by default. ...How to Append Postal Address
LeadGrabber Pro enables you to append the postal address of the selected companies based on the company name, company web URL or company web home page. This option enables you to find the city, state, zip, country, address, time zone and region. To ...How can we re-verify the emails that we have on our database and how can we upload the list to LDG
LeadGrabber Pro helps you to verify your email list in no time. Export the list of emails from your database in an Excel format (.xls or .xlsx). Now, import the excel file (email list) into LeadGrabber Pro. Select the records and click Verify Email. ...How to get email address from contact name and company website in LeadGrabber Pro?
This article will show you how to append email using LeadGrabber Pro with just contact name and company website. Step 1: Importing your (.xlsx or .csv) files to LeadGrabber Pro. Follow the process below. I. Click on 'Import' option. II. Once you ...